
Thursday, October 4, 2012
The race to teethe is on.
Oh what a few weeks its been with my 9 month old daughter Ava who has all of a sudden sprouted 4 teeth in the span of a week! Of course its been the usual for any baby who is teething: crying, clingy, and of course not sleeping. Its not that I didn't expect something like this - my 2 year old popped two teeth at once at 9 months and then another two a few weeks later. But, the four at once really came as a surprise and a grumpy one at that (for everyone). Well here we are a week later and I was hoping we would get a little break from the the teething monster, but alas....after a night of Ava waking up no less then 10 times to comfort nurse only to start crying because it hurt too much to nurse, she is teething again. This morning I felt her gums to discover three more teeth trying to surface. Oy Vay! I know its a blessing to just go ahead and get the teething over with but I feel like we are going for a record here! Well it looks like she will be chewing meat sooner then expected - here's to a mouthful of teeth.
Wednesday, October 3, 2012
First Tutorial - Ruffle Minky Baby Blanket
I am so excited to share with you my very first tutorial. As you may know I make baby blankets - the soft cuddly kind with delicious Minky and sweet soft Satin. So while making one of these beautiful blankets for my best friend I decided this was the perfect chance to share this how to with all of you!

1 yard cotton or flannel fabric
1 yard Minky fabric
1 package Wrights Blanket Binding
1 package Dritz Wash Away Wonder Tape
Cutting Mat
Grid Ruler
Rotary Cutter
Walking Foot
Ruffler Foot *(Can be done without)
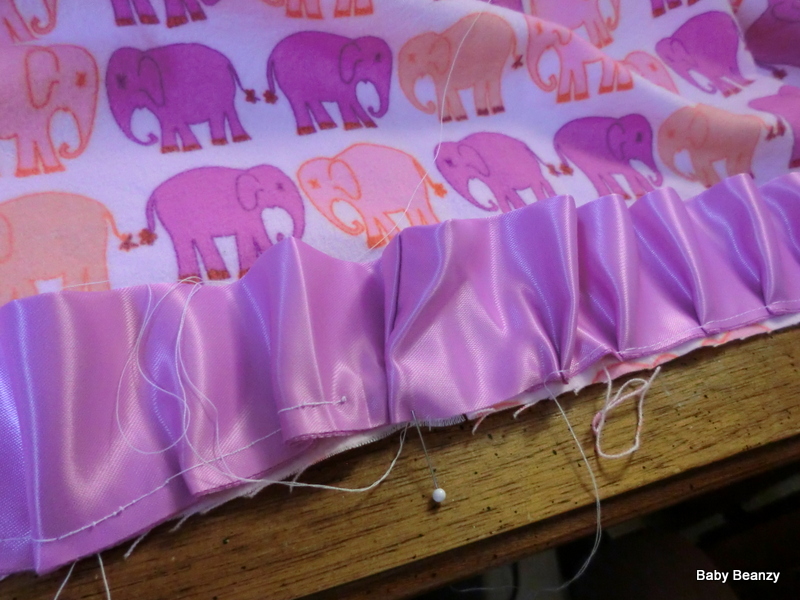
I like to start by ruffling my Blanket Binding first. The easiest way is to use a Ruffler Foot Attachment and simply feed the binding through. I set mine on the largest setting where it makes the deepest tucks every 12 stitches. I also set my stitch length to 4. If you don't have a Ruffler Foot that is ok, you can simply do the ruffles by hand and pin all the tucks.
 |
| The Ruffler Foot Attachment |
 |
| LOVE these Ruffles! |
Then its time to start cutting the fabric for the blanket!
 |
| Selvage on the top of cutting mat and fold on the bottom |

Then fold the fabric in the opposite direction - so part that was just cut is now lining up together. Then lay the fabric back down on the cutting mat with the fold lined up on the bottom line and the just cut sides on top. Then cut so the blanket is 28 1/2 inches wide.

In the next step I take any round edge object and line it up on the corners (while still folded in half) and cut a round corner with my rotary blade.


I ABSOLUTELY LOVE Dritz Wash Away Wonder Tape - it makes working with Minky so much easier!
 |
| Dritz Wash Away Wonder Tape |
Then using my Dritz Wash Away Wonder Tape instead of pins because it is so much faster and helps with less slippage, I lay it around the border of the cotton or flannel fabric and one piece down the center.

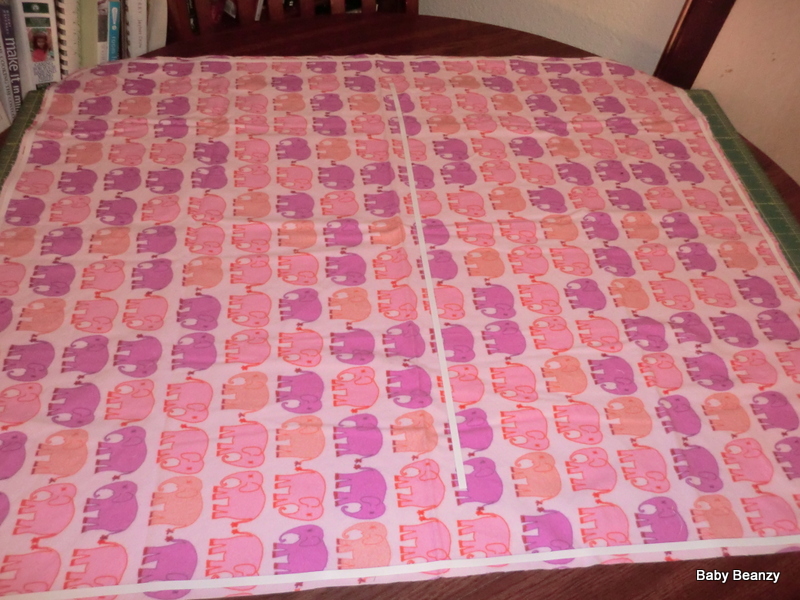
After Laying it down I peel off the top non stick coating on the tape and simply press the Ruffle Blanket Binding onto it going around the whole blanket.


I leave the edges open without any stitching and not pressed onto the fabric so I can sew the binding together


 |
| Binding turned right side out |
 |
| Pin in place to hold |
Using the Wonder Tape again I once again go around the border of the blanket on top the Ruffle Edge (about 1/4 inch from the fabric edge) and peel of the top non stick layer when done.

We are almost there! Taking the minky fabric I lay it down face up and take the cotton panel with the ruffles and lay it face down on the minky and press down firmly along the borders where the wonder tape is to make sure it sticks firmly.
Then I pin about 6 inches apart on the bottom of the blanket to mark where I start and stop - so I can leave an opening to turn the blanket right side out when I'm done sewing the seam.

 |
| Walking Foot |
Using my WALKING FOOT (very import to use this, otherwise the fabric will slip) I stitch 1/4 inch seam. I start at the bottom pin and sew until I get all the way around the blanket to the top pin, so as to leave about a 6 inch opening.

Using my Grid Ruler I line it up with the edge and cut off all the excess minky. Except at the 6 inch opening where I leave an extra half inch.

 |
| Extra half inch at opening |

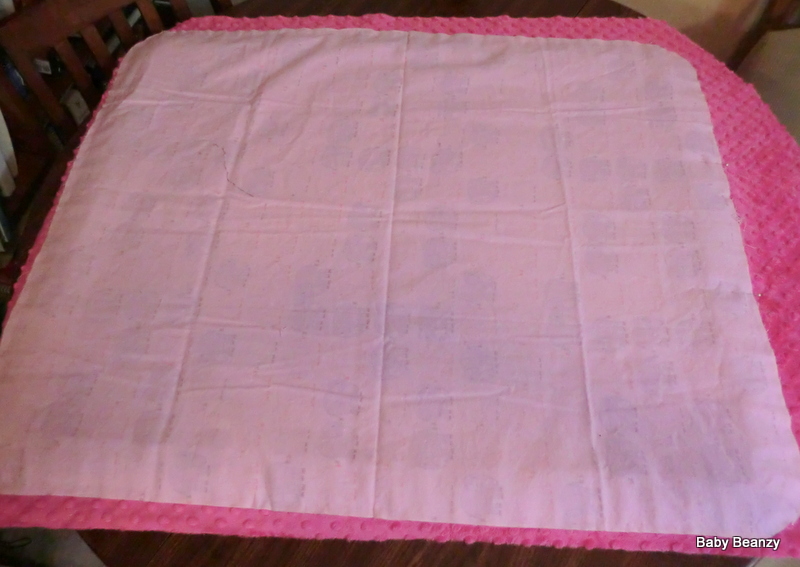
Turn the blanket right side out using the 6 inch unstitched space and tuck the unstitched edge under and pin.

 |
| Also check the backside and make sure everything is tucked neatly into place. |
Finally, topstitch about 1/8 from the edge and your done! (Don't forget to throw it in the wash to remove the Wonder Tape) You now have a beautiful boutique style Ruffle Baby Blanket. Enjoy!

Subscribe to:
Posts (Atom)